5 Stress-Saving Tips on What to Look For During a Retirement Community Home Tour
A retirement community home tour can be daunting for many and fun for some.
Whether you’re a senior downsizing specialist, a home organizer, or a Realtor, you have a real opportunity to share important guidance with your senior clients, or their families, that can better prepare them, and reduce stress while saving energy in the process.
If they are moving into a retirement community, there are several things they should be aware of, prior to touring prospective homes.
These days, retirement communities are low on inventory and many require that future residents add their names to a waiting list until inventory becomes available.
Depending on the area, these can be waits of up to a year or more, which can be frustrating for all. To make it worse, once a home becomes available, the senior only has a short window of time to view it and make a commitment.
At times, they’ll have to view the home while it’s still occupied. This can create even more pressure to move quickly as they tour through the home.
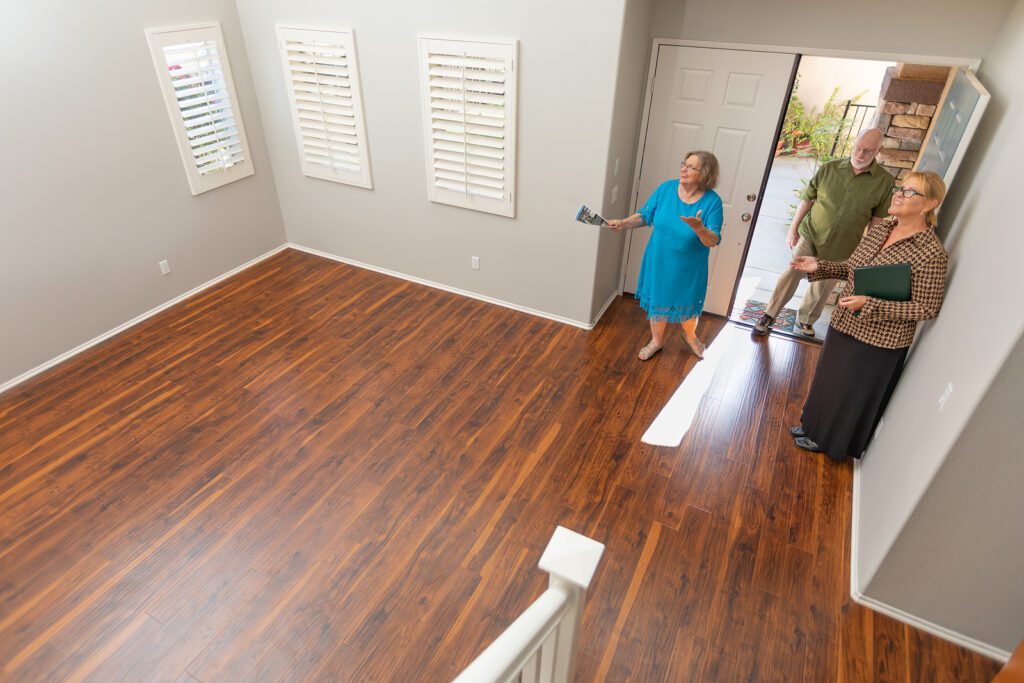
What To Look For During a Home Tour

It’s easy to get caught up with things like checking out the view or other “fun” aspects of the tour. But, there are 5 critical things to look for during a tour that can have a significant effect on planning.
1) Look for Items That Can Affect Furniture Placement
Have your client look for items that can affect, or impede, their furniture layout. Some of the key culprits are cable TV outlet locations, the direction a door slider opens for access to a patio or wall fixtures like light switches or thermostats. If they are placed mid-wall, they can affect the placement of art or oversized furniture like armoires, bookcases, or china hutches.
I should point out that these are not details that typically show up on the marketing floor plan that the sales or leasing office may provide at the time of the tour. So, make note of their location on the plan or bring paper to make notes on.
2) Check Cabinetry and Drawer Dimensions in the Kitchen
People often assume that the cabinets are just like the traditional-sized cabinets they have at home. But, retirement community kitchen cabinets are more in line with apartment-sized cabinetry. The shelving, or drawer depth (or height), is often shallower. So, it’s important to know what you’re working with early on.
For instance, the distance between shelves is usually shorter. This can affect the storage capacity for taller glassware like long-stemmed wine or champagne glasses. Lower cabinets may have shelves that have been cut back. This is presumably to allow for storage of large kitchen appliances. But it ends up reducing the storage of other more useful items like pots and pans.
Drawers are also significantly narrower than a full-sized single-family home cabinet and usually cannot accommodate standard utensil drawer organizers. Your clients should take measurements during the tour.
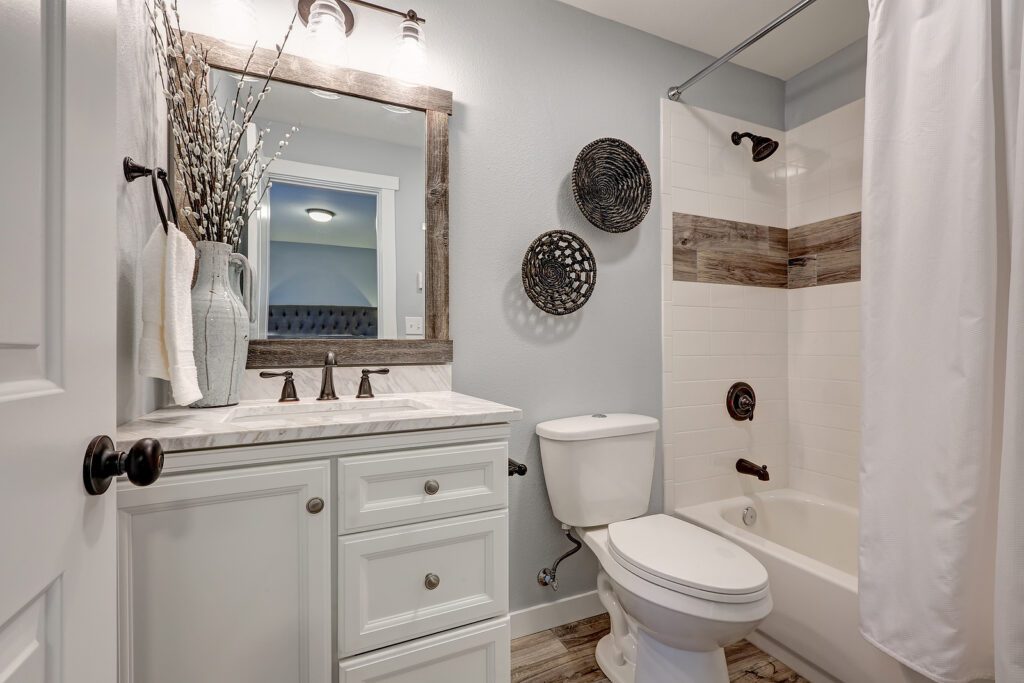
3) Check Out Available Bath Storage
The bath area can be a real challenge for seniors who are coming from larger master suites with plenty of drawer and cabinet space. Some retirement communities don’t have drawers in their bath cabinets though and only offer under sink storage.
Using stackable containers, like plastic shoe boxes or small 2-drawer storage organizers, is a great alternative.
Baths need to be ADA compliant in these communities for wheelchair access. There is usually more open floor space here than cabinetry. Depending on the floor plan, there still may be room for a small, vertical bathroom cabinet against a corner wall for additional storage.
4) Take Oversized Items Into Consideration
Let’s say your client has an oversized bookcase or a super tall armoire. Have them ask the lease or sales representative about mover access to the building and the home on move day.
Older buildings can have smaller elevators that won’t accommodate these types of oversized pieces, especially super tall, items. Movers will charge extra for delivery by stairs. They may also require additional personnel added to the job if it’s especially heavy. They may still run into issues navigating hard 90-degree angles in narrower hallways once it’s in the home.
Because of this, your client should pre-measure any oversized items they are thinking of bringing. Have a tape measure and a notepad handy during the tour to make notes. There’s nothing worse than having a large piece of furniture that can’t fit on move day, but nowhere to store or dispose of it.

5) What Are Their Extra Storage Options?
There are always things that a person needs to keep and doesn’t use every day. But, they can’t find storage within the home to accomodate them. So, it’s important to check to see if exterior storage is available off of a patio porch. Another alternative is an onsite storage cage or room that the resident can rent or use for free.
Typical items include holiday décor, light gardening tools, golf clubs, document boxes and pictures they don’t have space for.
If onsite storage isn’t available, and the items can’t be accommodated in the apartment, the client will need to find a small offsite storage unit. It might also require some hard decisions about letting more items go than they originally intended.
Your client will be better able to make better decisions when they know what they are dealing with. This is especially helpful during the purge phase and avoids unpleasant surprises on move day.
While we touched on several key areas in today’s post, there are more ways your client can save time, stress, and money on this topic. Check out the newest online video guide called “Tips and Strategies to a Stress-Free Retirement Community Move”. It’s specifically written to help guide seniors, and their families, and make the downsizing process easier. Click here to learn more or check out other course guide options in the Downsizing Made Simpler Series here.